You can print the contents of the calendar in two ways:
•A direct printout of the active calendar.
•A custom printout of the calendar.
|
To customize the content for printing, select the Free scaling |
Direct printout
1.Select File > Print.... The dialog box Page Setup opens.
2.Select the size and source of the print media, page orientation and margins.
3.Press OK.
Custom printout
1.Select File > Free plot.... The tab Free plot opens in the sidebar.
2.Select printer settings:
a.Press the settings icon![]() in the panel Printer settings. The Print dialog box opens.
in the panel Printer settings. The Print dialog box opens.
b.Select printer, number of copies, page size and orientation.
c.Press OK.
3.Select print settings:
a.Press the settings icon![]() in the panel Page setup. The dialog box Page Setup opens.
in the panel Page setup. The dialog box Page Setup opens.
b.Select the size and source of the print media, page orientation and margins.
c.Press OK.
4.To make a printout with a drawing frame on each print sheet:
a.Press the settings icon![]() in the panel Drawing frame. The dialog box Choose drawing frame to open opens.
in the panel Drawing frame. The dialog box Choose drawing frame to open opens.
b.Select drawing frame.
c.Press OK. The name of the drawing frame appears in the panel Drawing frame. The deselect icon ![]() is activated.
is activated.
To make a printout without a drawing frame: Press the deselect icon ![]() .
.
5.Select the appearance of the contents of the calendar in the panel Map settings:
•Use Product settings – The graphic is printed according to the map product's preset drawing attributes. Your adaptations of temporary drawing attributes are not kept.
•Rectangle – The graphic is printed according to the appearance in active view. Your adaptations of temporary drawing attributes are kept.
6.Select one of the following printing options:
•Active view – Print the active calendar
•Rectangle – Define one or more print areas. In the calendar, the mouse cursor becomes a cross that you can use to define areas that you want to divide the printout into.
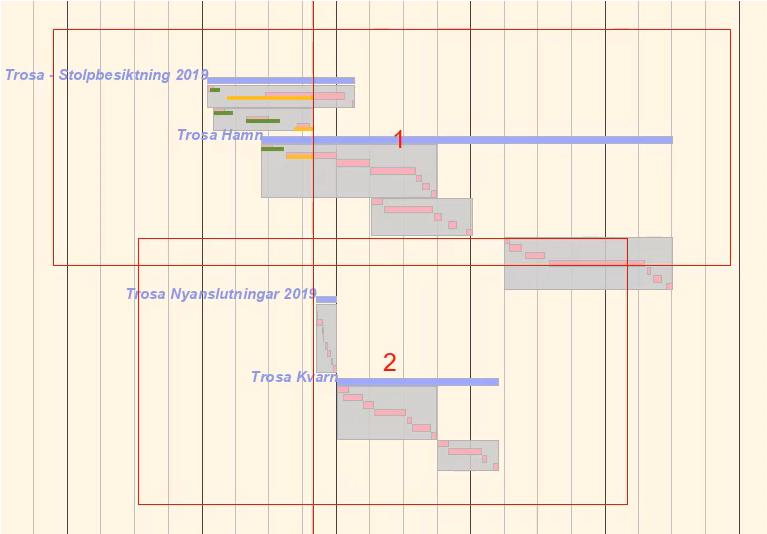
7.Press Preview. The Preview window opens. If you have selected the Rectangle printing option, an overview of the calendar and the defined areas are displayed as different tabs.
8.Press Print... in the tool bar. The Print dialog box opens.
9.Press OK if you want to continue printing on the suggested printer.