To create an outage press the button Add operation outage ![]() Add planned outage
Add planned outage ![]() or Add clearance work
or Add clearance work ![]() .
.
The new outage will be added to the outage list.
Note! It is possible to change the type of outage by a right-click on an outage and select Change outage type.
To create an outage a switch object have to be selected either from the schematic or the map presentation. Also the automatically generated single line diagram or the schematics generated in the substation or cable pillar cards can be used for this purpose. These alternatives will often give a quick overview which makes it easier to find the correct object rather than using the map.
The dialog Outages is opened:
Status |
Shows the status of the outage and can not be edited in this dialog. |
Type |
Shows the type of the outage and can not be edited in this dialog. |
Type of fault |
Shows what type of fault the outage caused. In the drop down menu the following suggestions is selectable: Undefined, Flashes, Miscellaneous, Completely de-energized and De-energized phase. |
Priority |
Shows the priority of the outage. In the drop down menu the following suggestions is selectable: Undefined, High or Low. |
Reported |
Shows when the outage was reported and can not be edited in this dialog. |
Occurred |
Shows when the outage occurred i.e. when the first customer was disconnected. Here you are allowed to edit both Time and Date. |
Restored |
Shows when the outage is restored. An outage is restored when it is set to Fixed and here you are allowed to edit both the Time and Date. |
|
The buttons easily adds 1h, 2h or 4h. |
Note |
An optional choice to write a specific note about the outage. |
|
Export the dialog to a spreadsheet. |
|
Export the dialog to PDF. |
|
Creates the outage. This method is primarily intended for planned outages . |
|
Creates the outage and executes the first row of the operating order. This method is primarily intended for operation outages. |
|
Creates the outage and restores it i.e. the operation is mirrored directly when using this suggestion. Type in time or date to make the button selectable. |
|
The function is canceled. |
For more details about these fields see Info – Outage.
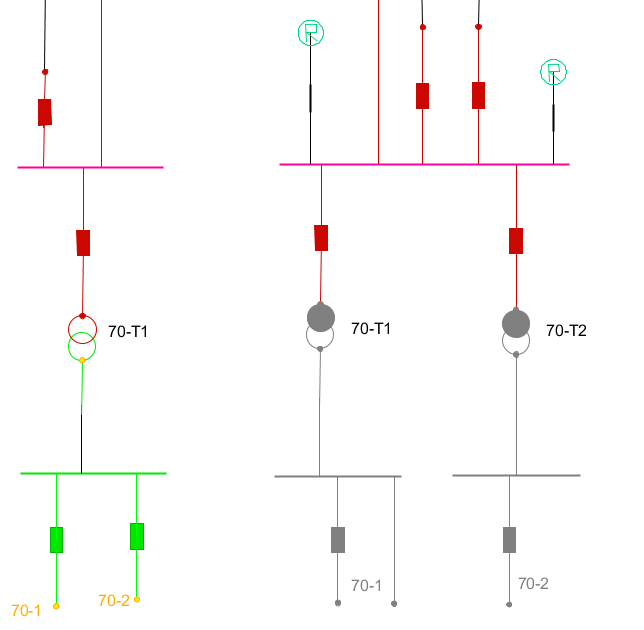
When an outage has been created, the part of the network that has been affected by the outage will be grayed out. It could look like this:
In the tab Info > Outages the following is shown:
•The Type of the outage, when the outage was Reported and when the outage Occurred. This is not editable.
•The Type of fault and the Priority is shown and is editable by using the drop down menu.
•Date and Time for Planned disconnection and Planned restored is set by using the ![]() button.
button.
For more details about these fields see Information - Outage.
In the tab Info > Other info it is possible to add more specific details about the outage.
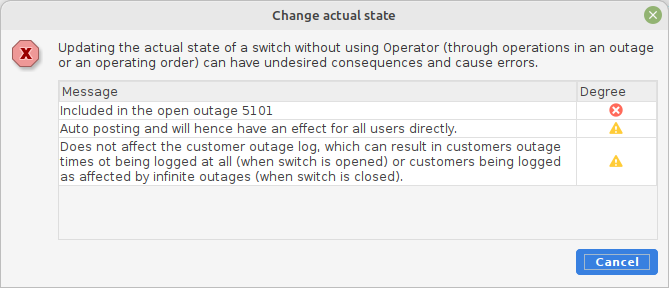
Note! If you try to change the state of a connector to open after creating the outage, you will receive the following message.