In this section, there are several descriptions where we go through the entire process from creating a new drawing frame, to then place it in the Free Plot tool.
Create new drawing frame
1.Select Administration > Edit drawing frames to create a new drawing frame. A new application window opens:
2.Select File > New drawing frame (or simply use Ctrl-N). The Format for new drawing frame dialog will open.
3.Type a name for the new drawing frame (this is a mandatory field Note that the OK button will not be activated until the mandatory field is filled). It is also possible to select paper size, orientation and margins for the drawing frame if wanted.
4. To begin the editing simply press OK. The name of the frame will be displayed in the name list.
5. In the settings menu it is possible to place a Grid if wanted. A Grid may help when placing an object. It is also possible to use the function Auto snap to vertices that shows vertices for line segments.
Place object in the drawing frame
1.Go to Place > Area > Any. If placing several object of same type, click the check box Placement loop.
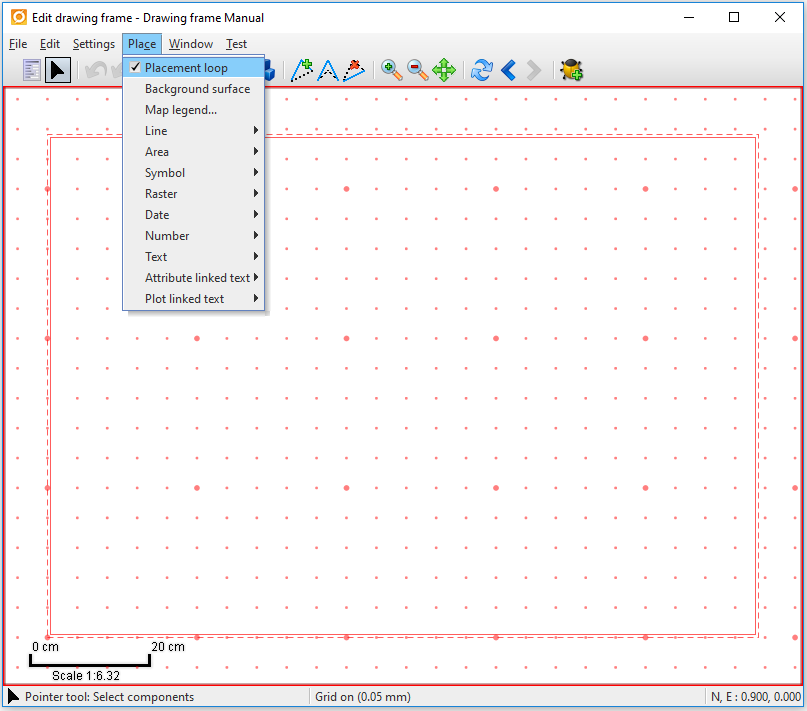
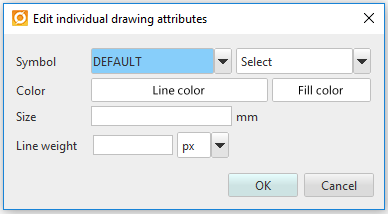
The Edit individual drawing attributes dialog opens:

1.It is now possible to select Color, Line style and line weight. Simply press OK.
2.First select enter point in the application window and adjust the area to wanted size by using the mouse. Place the area by selecting an end point.
3.Place some symbols to the drawing frame by using Place > Symbol > Any. The Edit individual drawing attributes dialog opens:
4.It is now possible to select which Symbol to use, Color, Line style and line weight. Simply press OK.
5.Place the symbol in the drawing frame. It is possible to give the symbol an angle if wanted, or simply right click in the application window and select Create without rotation.
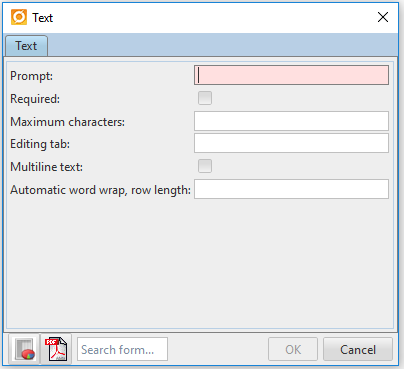
6.Go to Place > Text > Editable/Uneditable. The text dialog opens. It is now possible to add text to the drawing frame:
7.Go to Place > Plot linked text to place a few objects from plot linked text. This could be Page number, Scale, Date, Coordinate system or generated by. The Edit individual drawing attributes opens:

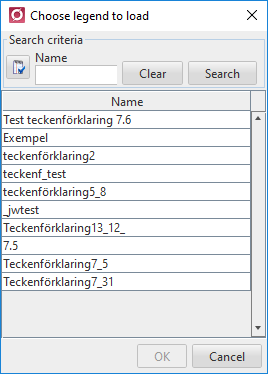
8.Place a legend to your drawing frame by using Place > Legend. The following dialog is opened provided that there are any previously created legends:
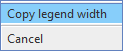
9.Add another legend if it is needed by repeating the step above. In order to place the new legend with the same size as the current one, do the following: Start the function > Right click in the drawing frame, Select the alternative Copy legend width and click on the legend that has the correct size. The new legend now has the same size as the previously placed legend.
10.Go to Place > Background surface to give parts of the drawing frame a white background. The drawing frame is transparent by default.
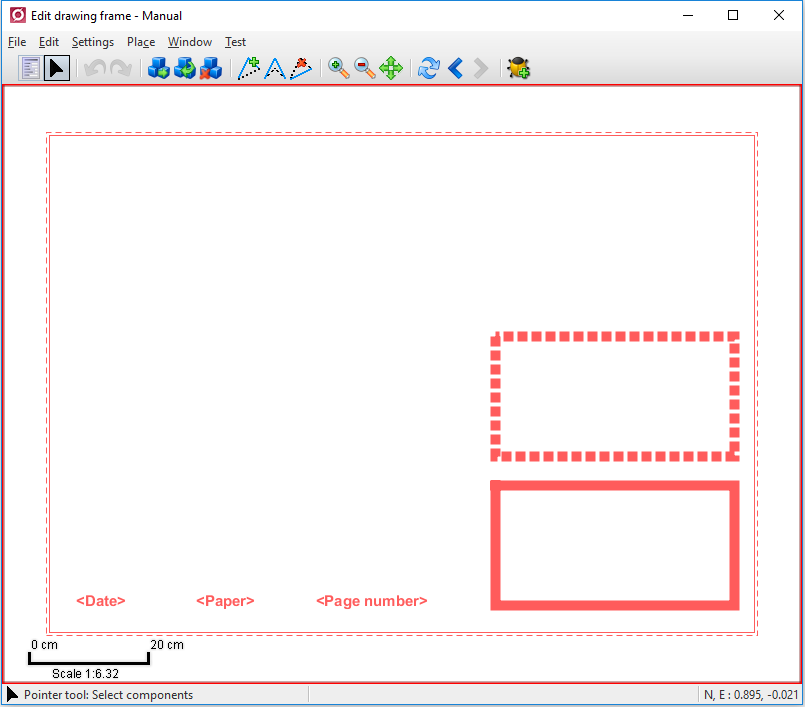
Drawing frame example:
Place drawing frame in the free plot tool
1.Go to File > Post in the ordinary application window to post the change set including the drawing frame.
2.When the posting is completed, it is possible to open an existing saved free plot by simply go to File > Free plot or File > Load free plot
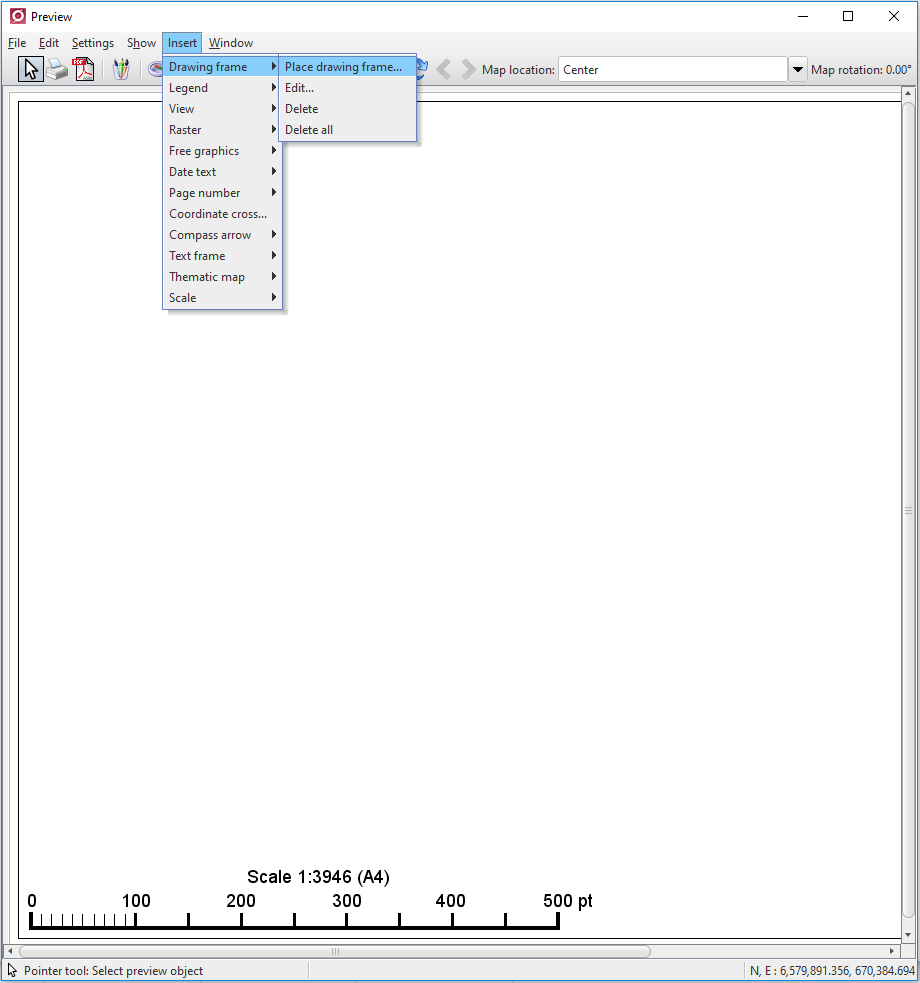
3.In the Preview window that opens chose Insert > Drawing frame > Place drawing frame
4.The Choose drawing frame to place dialog opens. Search och find the drawing frame to insert in free plot by either enter search criterias or press the Search button to see all existing drawing frames. Note, If the free plot contains several pages and the drawing frame should apply on all those pages, the check box Apply to all pages must be selected before search.

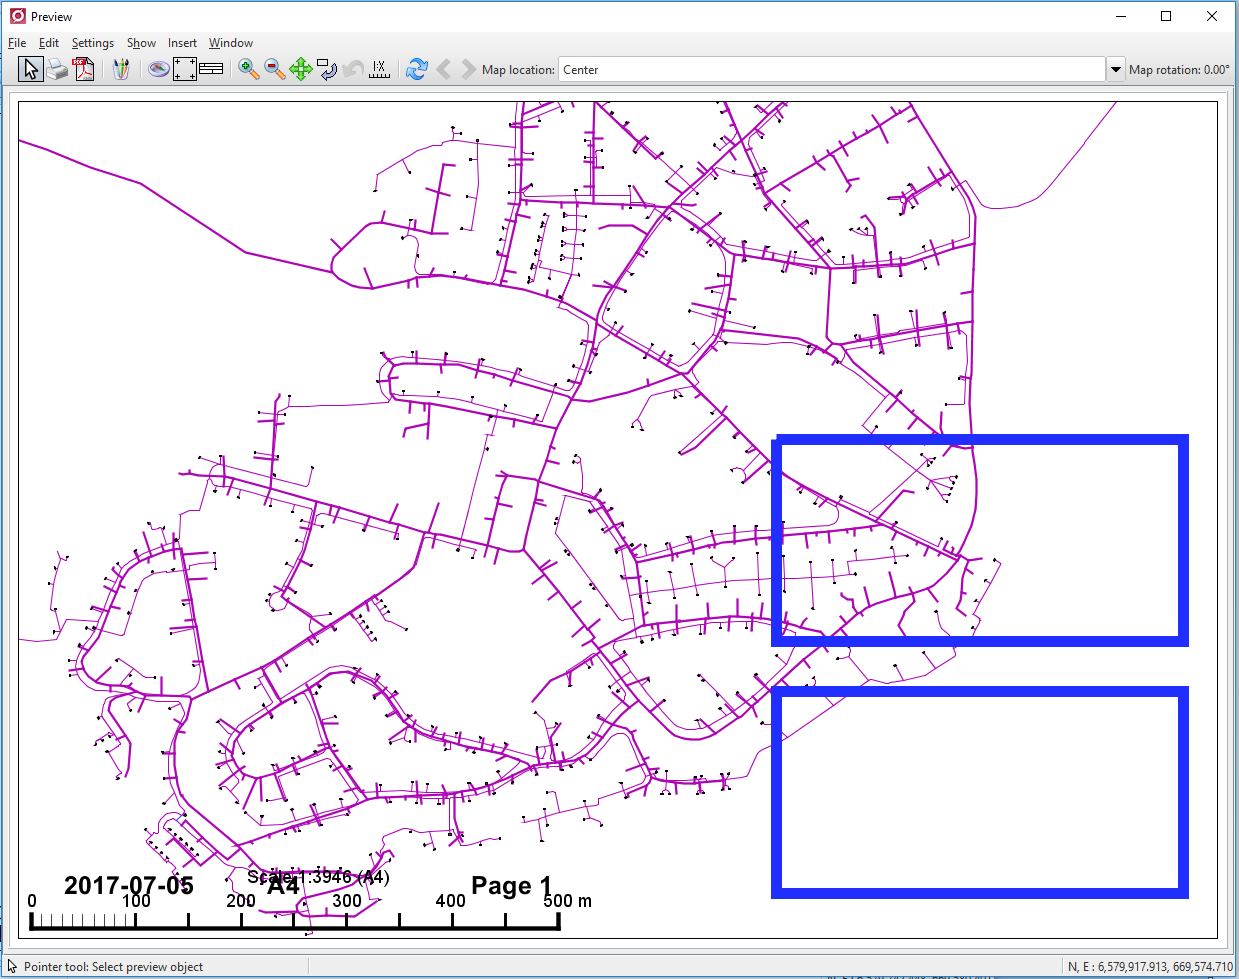
5.Select the drawing frame that should be used and press OK. The drawing frame will now be visible in the preview window in the Free plot tool.
6.Go to Insert > Drawing frame >Edit to edit the inserted drawing frame. The Edit drawing frame <Drawing frame name> dialog opens.
7.In the Edit drawing frame <Drawing frame name> dialog the attributes that may be edited will be listed. (If objects has been placed in the drawing frame as uneditable it is not possible to edit these in the dialog. These must be edited in the drawing frame).
8.Edit those fields that need editing and then save the free plot.
Note, the changes being made will not affect the original drawing frame. Changes in the original drawing frame must be made in the drawing frame editor. The free plot must also actively be saved, since there is no warning message reminding of unsaved changes. This means that if the window closes without saving, the free plot will not be saved or available.
9.It is also possible to delete a drawing frame by using Insert > Drawing frame > delete or > delete all, if the drawing frame is placed on several pages.