In this section, there are several descriptions where we go through the entire process from creating a legend, to then place it in the Free Plot tool and in a drawing frame.
Create new legend
1.Select Administration > Legend > Generate to create a new legend. The Initial choice dialog box opens.
2.Select the alternative that suits your legend and press OK. A new application window opens.
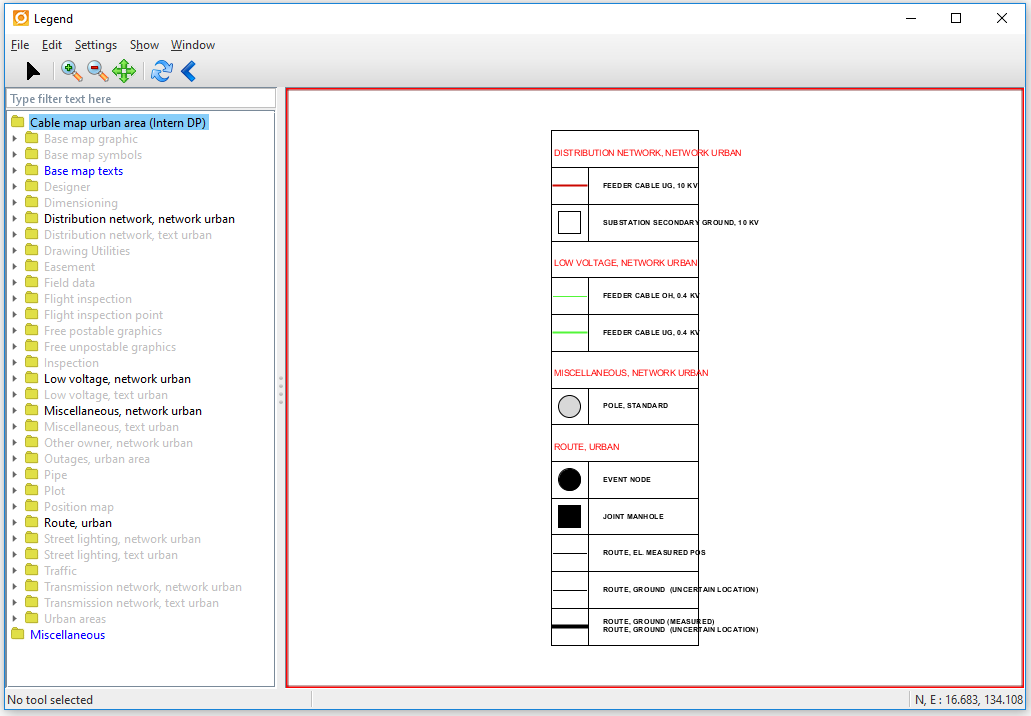
3.You can hide product classes in both the map product tree and the legend by selecting the product class, right-clicking and selecting Hide. To show or hide the different product classes, select the product class to show or hide, right-click and select Show or Hide.
You can also display a product class in the legend in the map tree. Select the product class in the legend, right-click and select View > Display in the map product tree. The map product tree expands and the product class lights up.
Note, if many components lit at the same time, the legend may work slower and it may also take longer time to load the legend. The JavaClient may also be affected if to many components are lit at the same time.
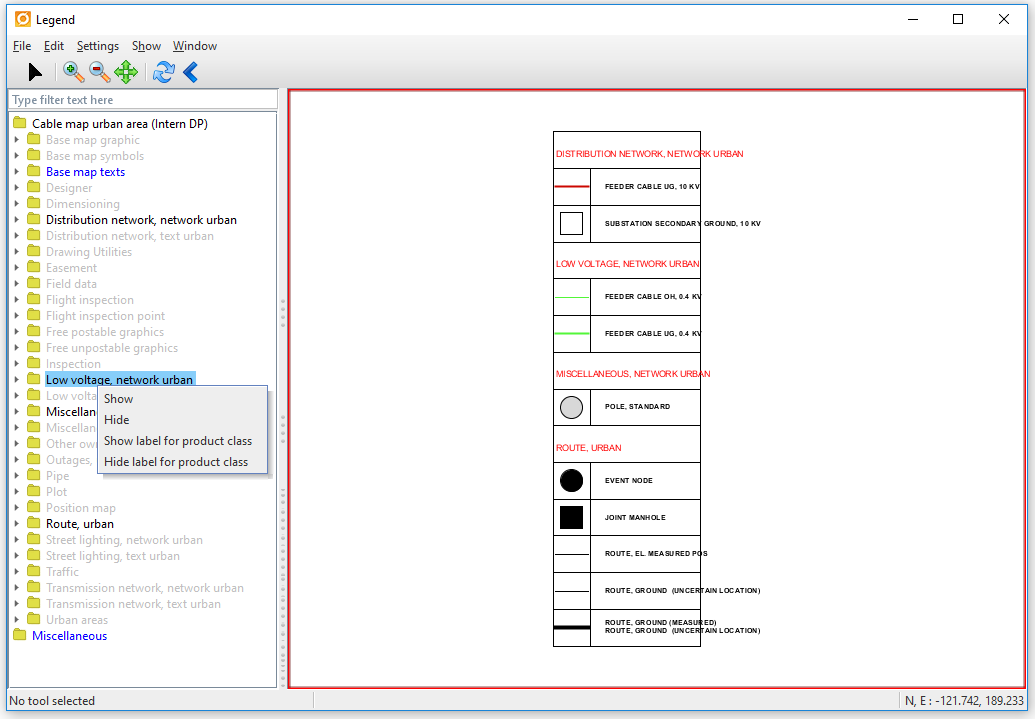
4.Select Show label for product class to show the product class label.
5.The product classes in the legend will now be shown under each label.
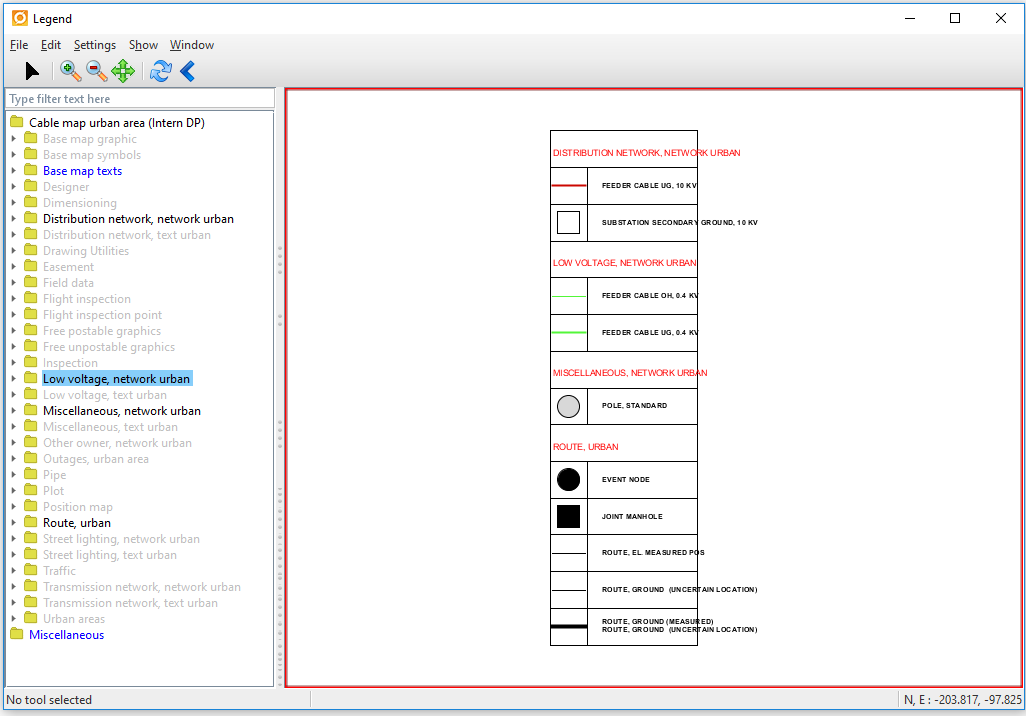
6.Select Hide label for product class to hide the product class label.
Edit legend
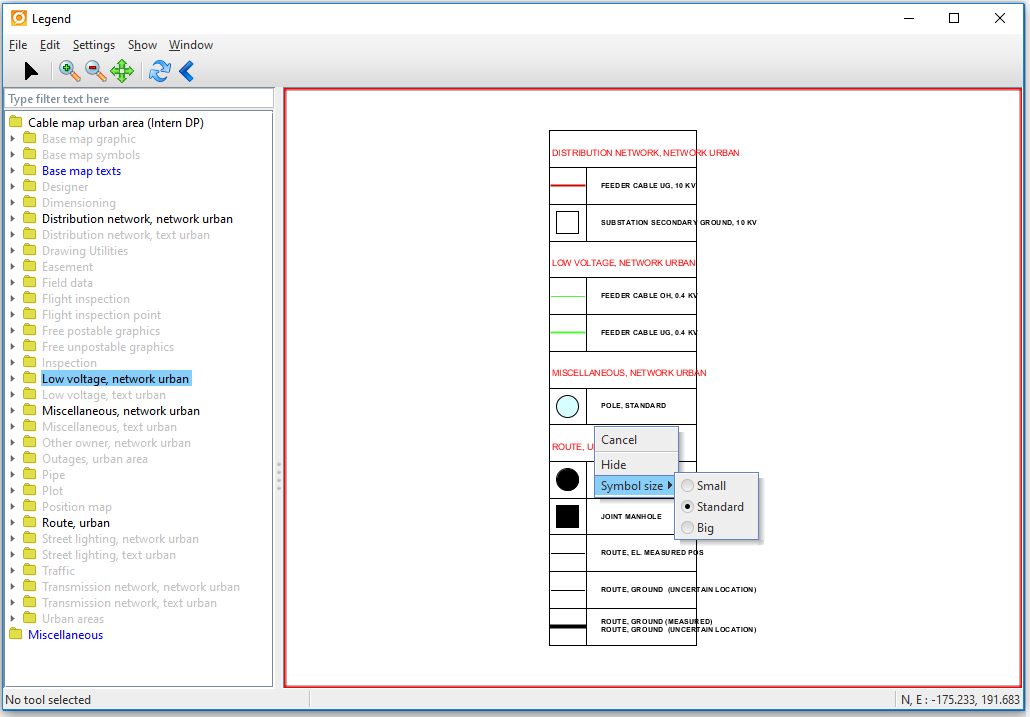
1.To edit the symbol size in the legend, right click on the symbol and select Symbol size.
2.To edit text in the legend , right click on the text you want to edit and chose Edit description.
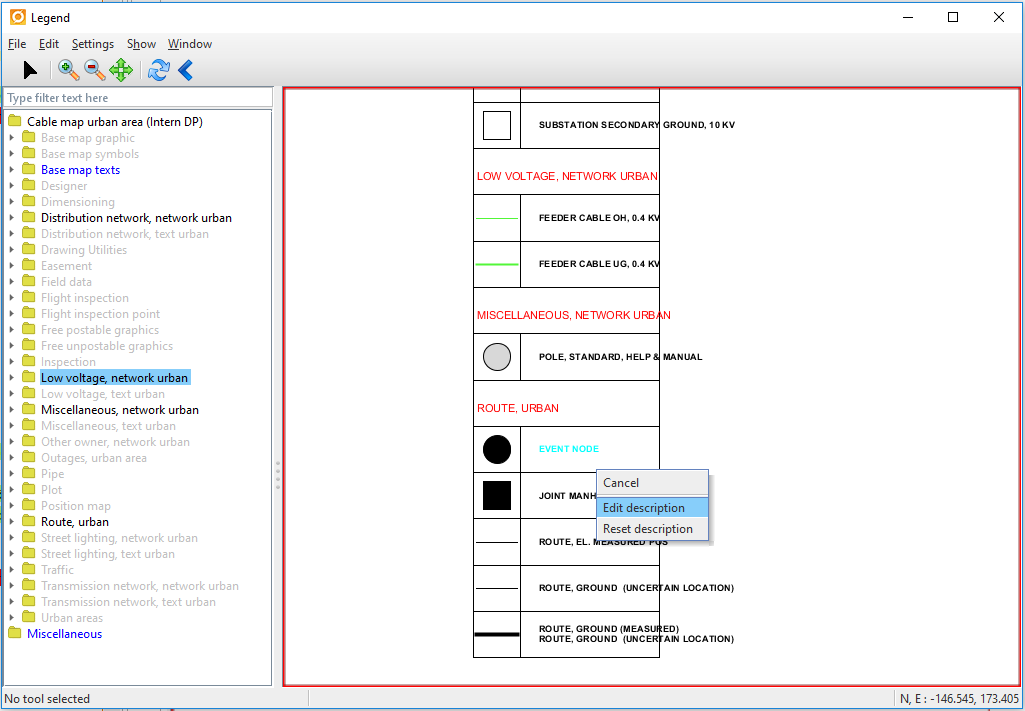
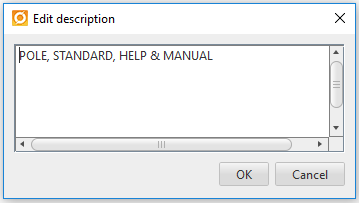
3.The Edit description dialog opens and a new or edited text may be typed. Press OK.
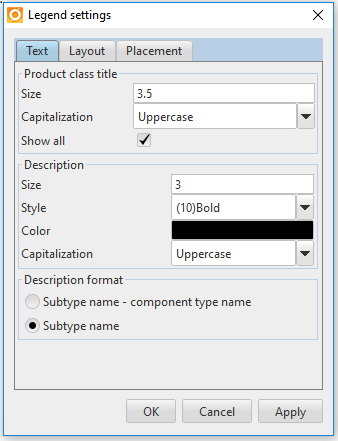
4.Go to Settings > Legend to edit the legend settings. The Legend settings dialog opens.
5.In the text tab you may edit text. It is possible to enter the Product class title size and capitalization for the legend and if you would like to use uppercase, lowercase or according to product capitalization. You may also enter size, style and color for the description text. The description text format may also be changed from Subtype name - component type name to simply Subtype name.
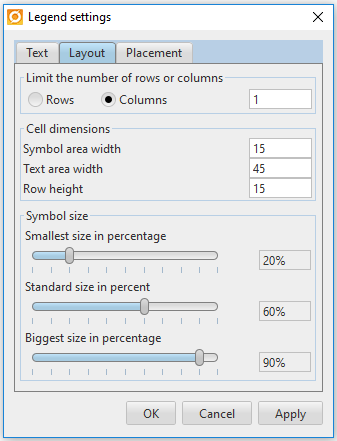
6.In the Layout tab you may chose if the legend should be in rows or in columns. Limit the number of rows/columns and change the legends cell dimensions. It is also possible to change the symbol size by using the sliders.
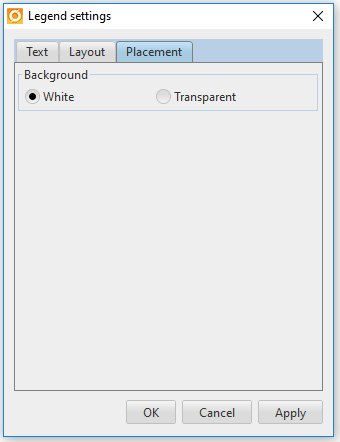
7. In the Placement tab you may chose background color for legends being placed in the free plot tool. If the legend is placed in the drawing frame, the legend background is always transparent by default. If you want the background to be white in the drawing frame you must place a Background surface under/behind the legend.
Place a legend in the Free plot tool
1.Go to File > Save legend and save your legend. When the legend is saved, it is possible to place the legend in the Free plot tool.
2.Go to File > Post and post your changeset.
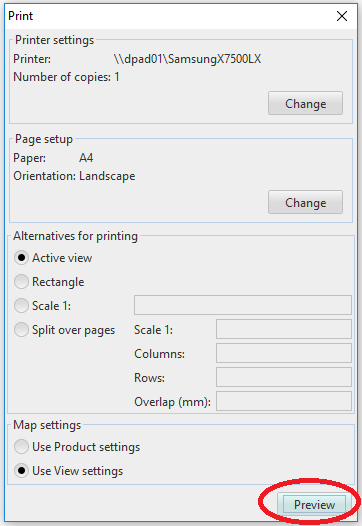
3.Go to File > Free plot or File > Load free plot to open the free plot tool. The Print dialog opens, press the Preview button in the lower right corner.
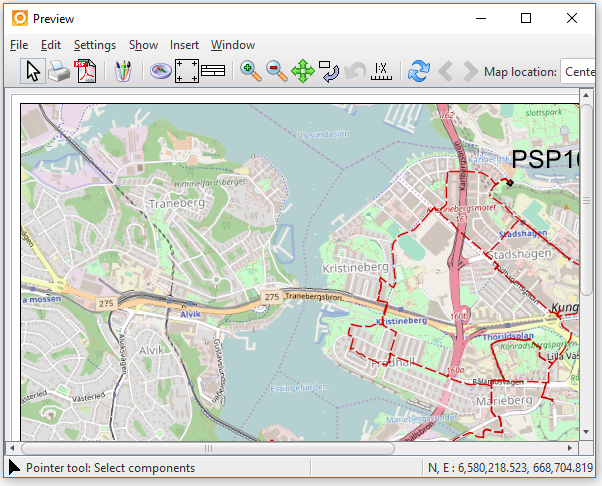
The Preview dialog opens.
4.Go to Insert > Legend > Place legend. The Choose legend to load dialog opens:
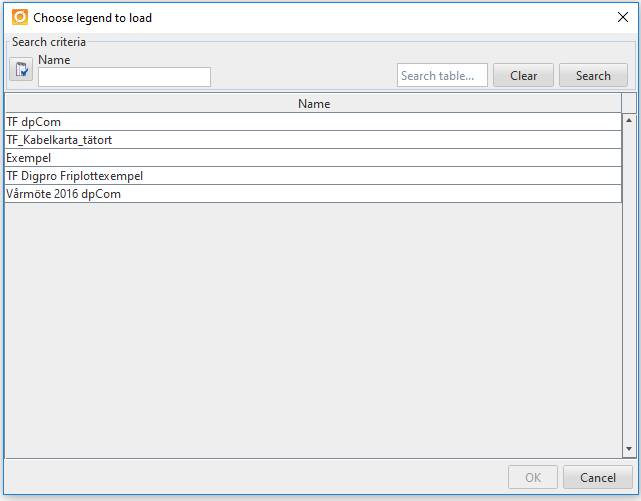
5.Choose which legend to load and press OK.
6.Select location area for the legend and then use the mouse to adjust legend size. Right click to place end point.
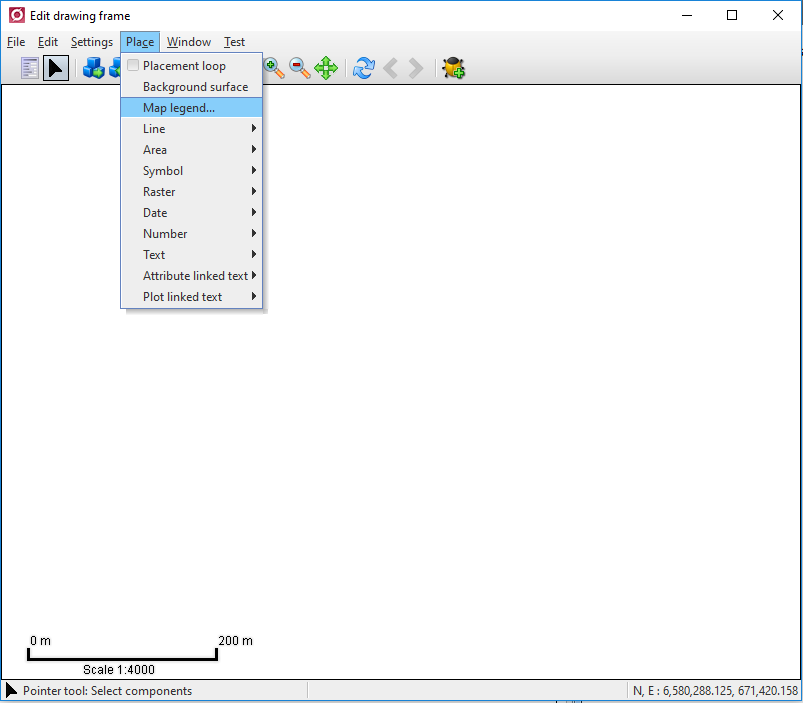
7.The legend is now placed in the free plot tool. If a plot contains several pages, a legend must be placed manually on those pages. Note, if all pages should contain a legend it is recommended to use the function Edit drawing frames > Place > Map legends.
8.You may move the placed legend in the free plot by simply click on it, hold down the left mouse button and move the legend to the intended location.
9.Go to Insert > Legend > Delete to delete the legend. If the plot contains several pages, go to Go to Insert > Legend > Delete all to delete the legend on all pages. Or simply right click on the legend and select Delete or Delete all.
Place the legend in a drawing frame
1.To place a legend in a drawing frame, save and post the legend that will be inserted to a drawing frame.
2.Go to Administration > Edit drawing frames. In the Edit drawing frame dialog that opens, go to File > Open drawing frame, and select the drawing frame that the legend will be inserted to.
3.Go to Place > Legend In the Edit drawing frame dialog and select the saved and posted legend from step 1.
4.Select location area for the legend and then use the mouse to adjust legend size. Right click to place end point.
5.The legend is now placed in the drawing frame. Note, the information in the legend will not be visible in the drawing frame until it is placed in the free plot tool. In the drawing frame, the legend will only look like a square / rectangular object.
6.Place a Background surface around the legend if you do not want the legend to be transparent when placed through drawing frame to free plot tool. Go to Place > Background surface. Select location area for the legend and then use the mouse to adjust legend size. Right click to place end point.
7.Go to File > Post to save your changes.
8.Go to File > Free plot or File > Load free plot to open the free plot tool.
9.The Print dialog opens, press the Preview button in the lower right corner. The Preview dialog opens.
10. Go to Insert > Drawing frame > Place drawing frame. The Choose drawing frame to load dialog opens.
11. Select the drawing frame you inserted in the legend and simply press OK. Note, if you want the drawing frame with the legend on all pages in the free plot, the check box Apply to all pages must be selected before search.
12.The created drawing frame with the legend is now available in the free plot tool.