In this section we go through the whole process from creating a new legend to placing it in the Free Plotting tool and in a drawing frame.
Create new legend
1.Select Administration > Legend > Generate. A dialog box opens with two radio buttons.
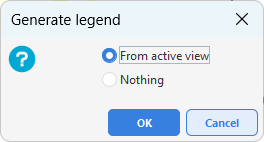
2.Select an option:
oFrom active view - product classes in the active view are included.
oNothing - no product class is included, you choose in the Legend window.
|
If many components are lit at the same time, for example an entire map product, it takes a long time to load the legend. When the editor opens, a warning window appears telling you the number of components. Once inside the editor, no warning is displayed. |
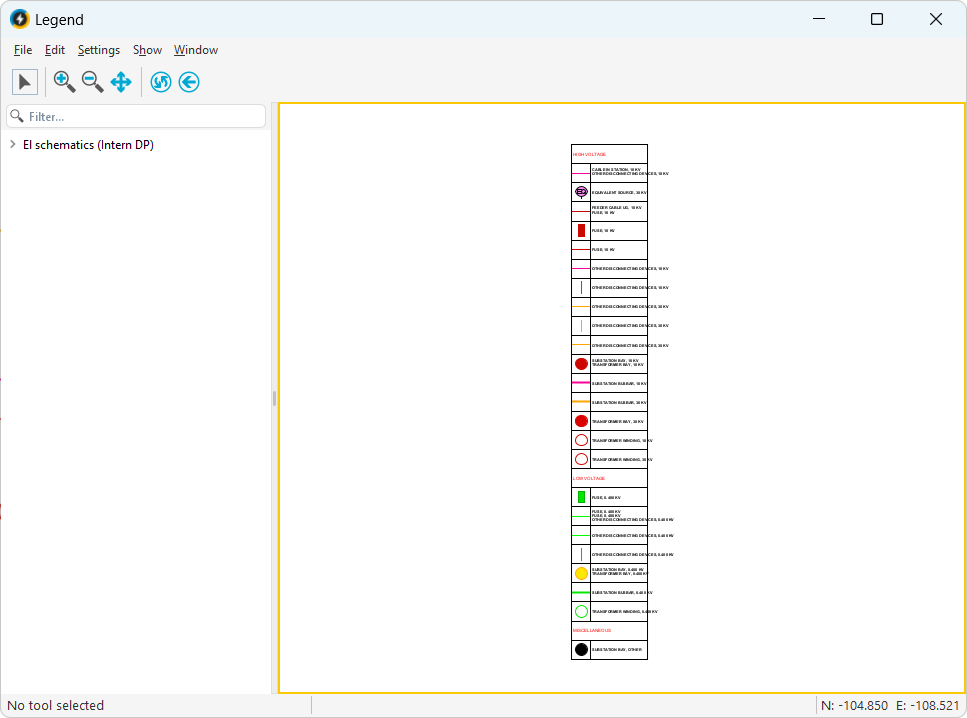
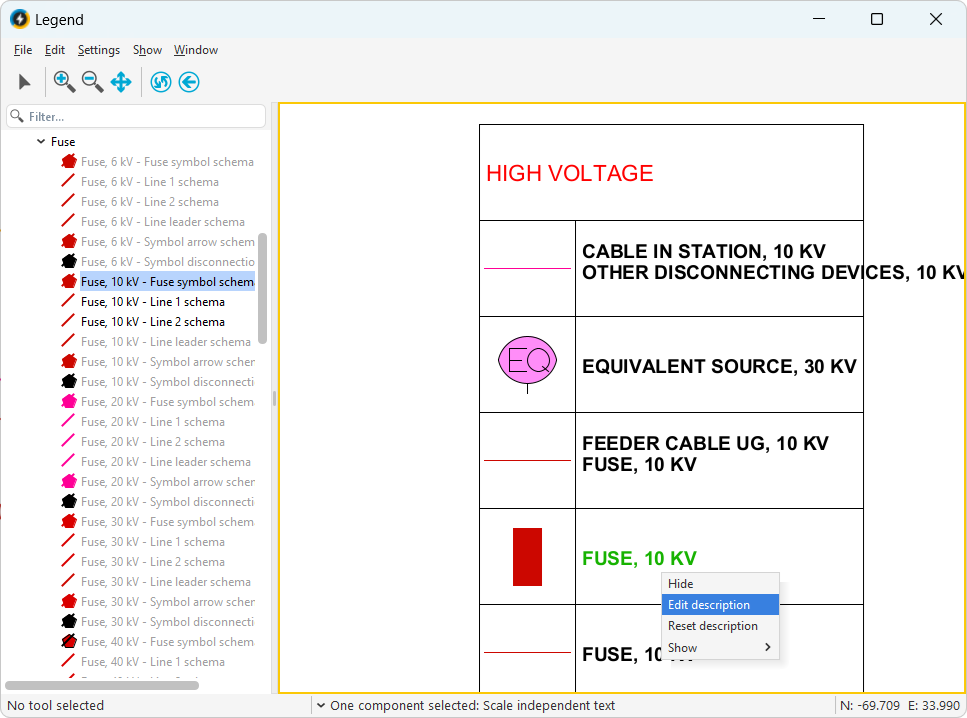
3.Press OK. The window that opens has many functions that work in the same way as in the regular application window and the interface is the same.
4.To show or hide the different product classes, select the product class to be shown/hidden, right-click and select Show or Hide.
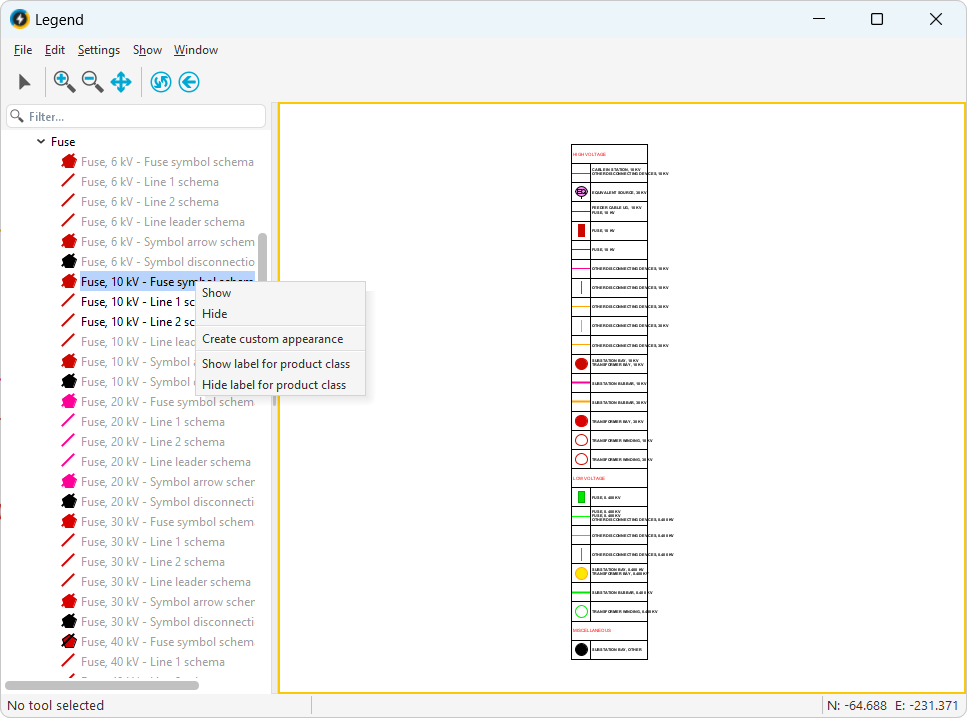
5.To show or hide a product class label, select the label to be shown/hidden, right-click and select Show label for product class or Hide label for product class.
6.To create a new row in the legend:
a.Right-click on an object in the tree view and select Create custom appearance.
b.Enter the desired drawing attributes and press OK. The function creates a new row in the legend with a copy of the selected otype, subtype, ctype.
7.Select File > Save legend.... The legend can then be inserted directly into free plotting or inserted into a drawing frame.
Edit the legend
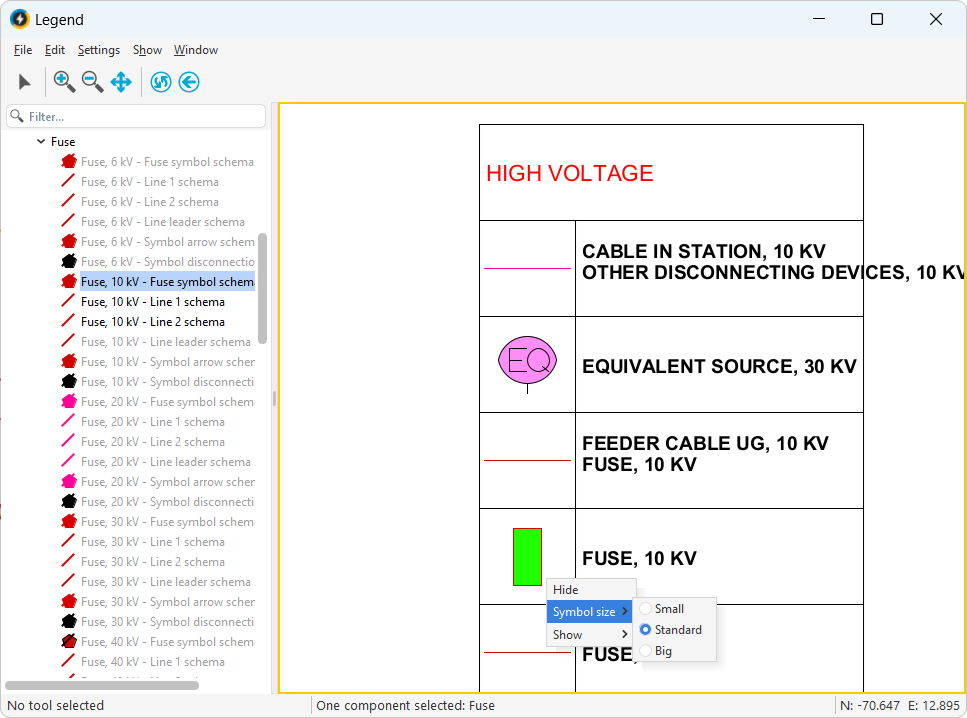
1.Change the symbol:
a.Right-click the symbol and select Symbol size > Small, Standard or Large.
2.Edit texts:
a.Right-click on the text and select Edit description.
b.Enter new text and press OK.
3.Change the settings for the legend:
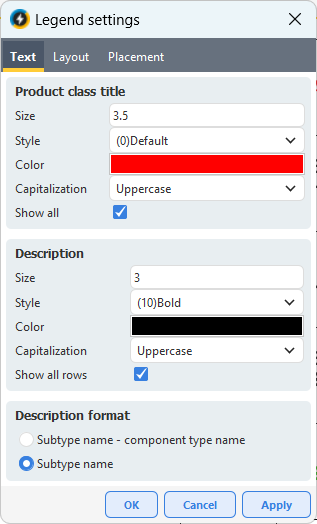
a.Select Settings > Legend.
b.Enter the desired settings in the respective tabs:
▪Text - Size, style, color, capitalization/commas for titles and description.
|
•Check Show all in the Product class title section if all titles should always be displayed, regardless of the setting in the map tree. If unchecked, they will not be displayed by default but can be turned on via the map tree. •Check Show all rows in the Description section to always show all rows. If unchecked, only the number of rows that fit in the height of the cell will be displayed. •In the Description format section you can select: oSubtype name - component type name - Display both. oSubtype name - Displays only the subtype. |
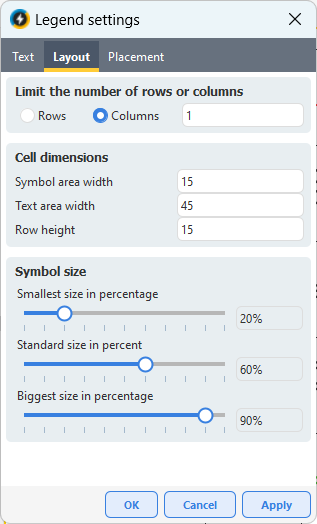
▪Layout - Controls the appearance of tables via number of rows/columns, cell dimensions, symbol size.
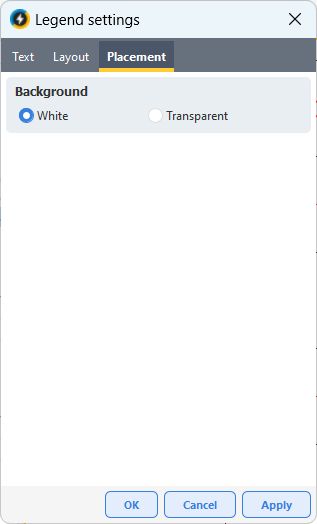
▪Placement - White or transparent background color.
|
If you place the legend in the drawing frame, its background will always be transparent. To display a white background behind the legend in the drawing frame, add a Background surface below the legend. |
4.Select File > Save legend....
Place the legend in the Free Plotting tool
1.Save the legend if you have not already done so via File > Save legend....
2.Post your changeset via the main application window - select File > Post.
3.Open Free plot via File > Print > Free plot or Load free plot to open an already existing saved free plot.
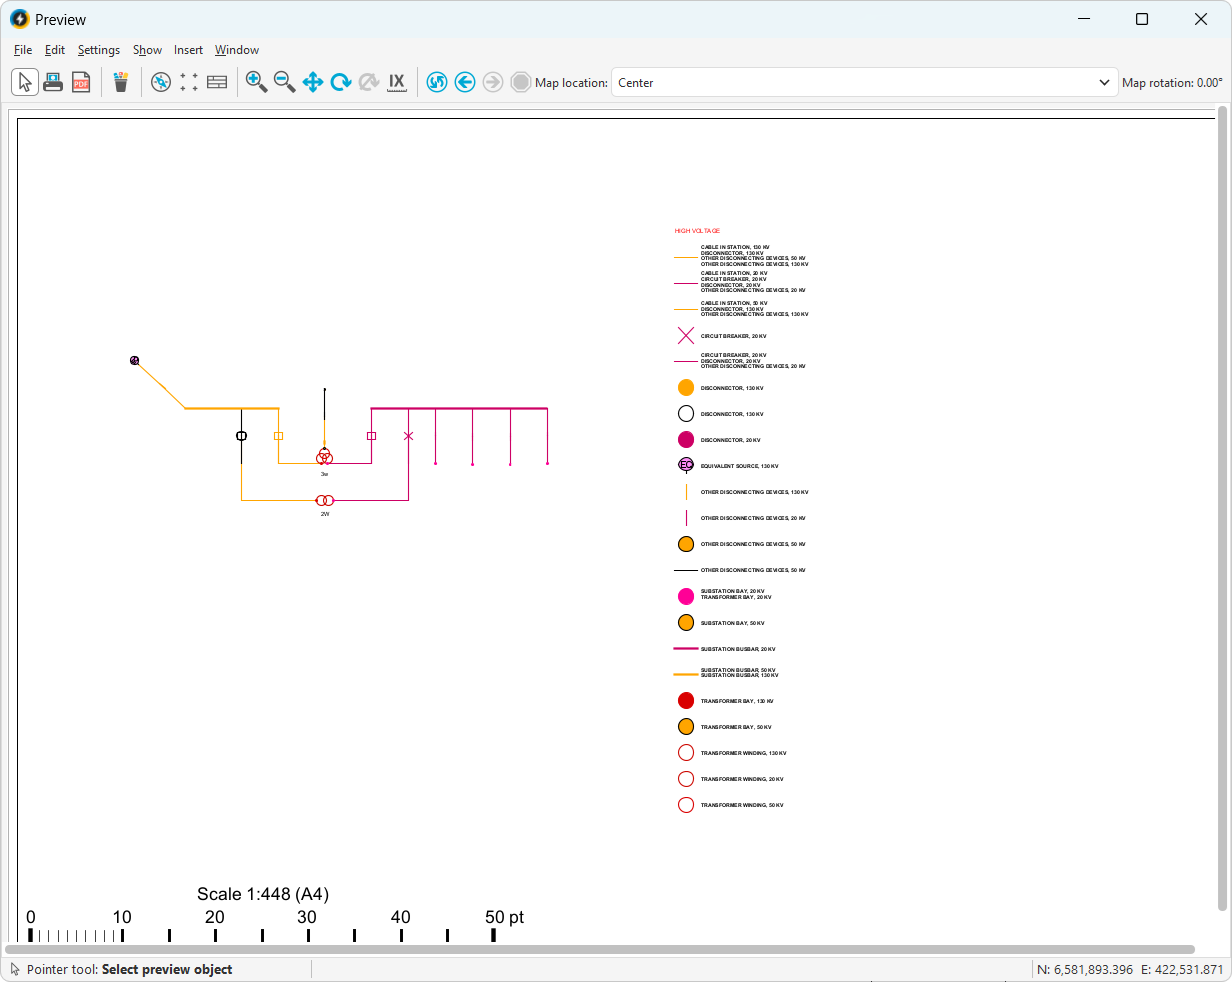
4.In the Preview window, select Insert > Legend > Place legend....
5.Select the legend and press OK.
6.Left-click in the application window to set the placement point. Drag to the desired size and finish by specifying the end point.
7.To move the placed legend in free plotting, click on it, hold down the left mouse button and move the legend to the desired location.
|
If a free plot contains several pages, the legend must be placed manually on each page. If you want the legend to appear on all pages, it is recommended to place it in a drawing frame via Administration > Edit drawing frames > Place legend. |
|
Delete a legend via Insert > Legend > Delete or Delete all if the legend is on several pages. |
Place the legend in a drawing frame
1.Save the legend if you have not already done so via File > Save Legend....
2.Post your changeset via the main application window - select File > Post.
3.Select Administration > Edit drawing frames.
4.Select File > Open drawing frame and select the drawing frame to which the legend should be inserted.
5.Select Place > Legend and select the desired legend.
6.Left-click in the application window to set the placement point. Drag to the desired size and finish by specifying the end point.
|
The information contained in the legend will not be visible in the drawing frame until it is placed in the Free plotting tool. In the drawing frame, the legend will only appear as a square/rectangular object. |
7.If you do not want the legend to be transparent when placed in Free Plotting, add a background surface around it - Select Place > Background surface, enter the placement point and drag the mouse to the desired size.
8.Post the changes made to the drawing frame via the main application window - File > Post.
9.Open Free plot via File > Print > Free plot or Load free plot to open an already existing saved free plot.
10.In the Preview window, select Insert > Drawing frame > Place drawing frame....
11.Select the drawing frame you inserted the legend in and press OK.
|
Check Apply to all pages if the drawing frame should be inserted on all pages. 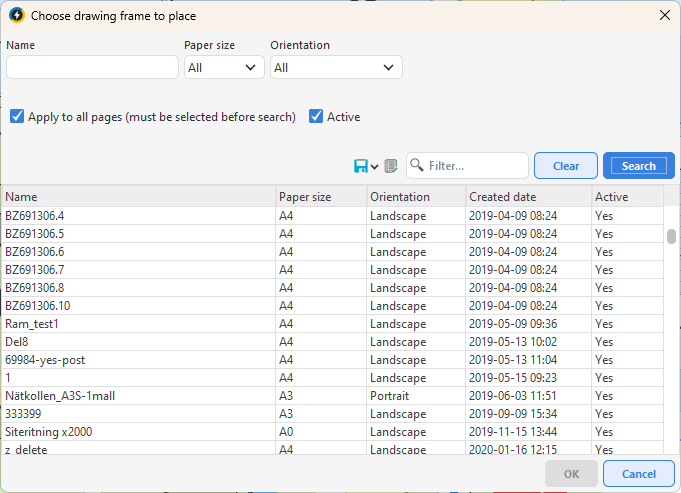 |