This section describes the most common workflows for drawing frames - from creating a new drawing frame, to placing objects in it, and finally using the drawing frame in the Free Plotting tool.
Create a new drawing frame
1.Select Administration > Edit drawing frames. A window opens.
2.Select File > New drawing frame... (Ctrl-N).
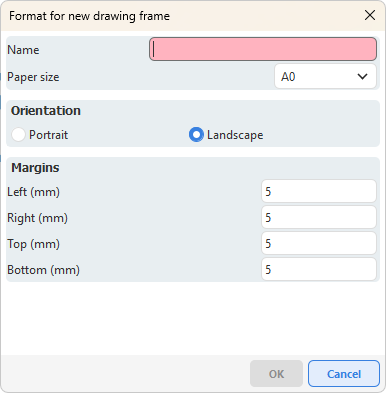
3.Enter name (mandatory), paper size, orientation and margins.
4.Press OK to start editing. At the top of the name list, the name of the drawing frame will have been added.
5.Set grid and snap mode via Settings if needed.
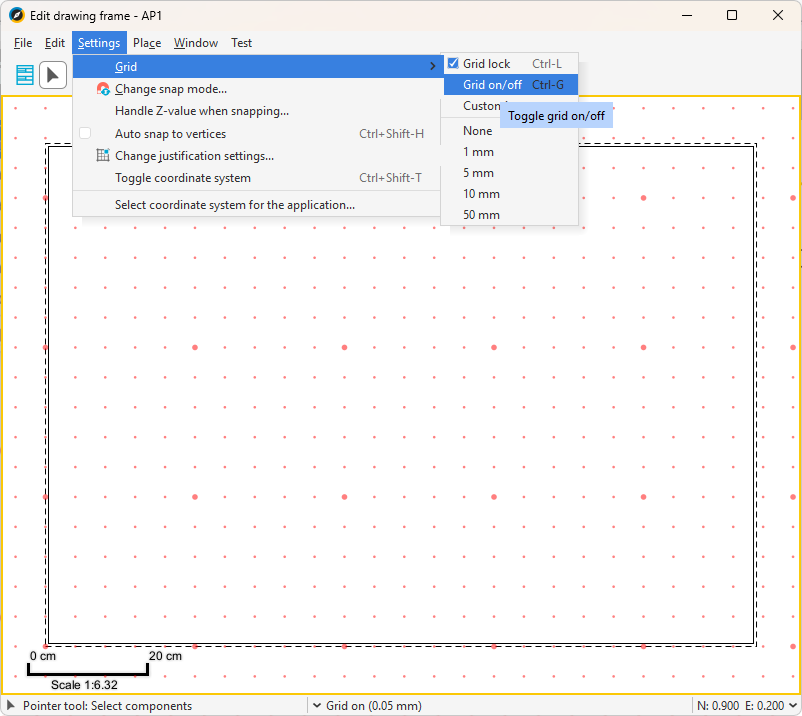
Grid on
Place objects in a drawing frame
Once you have created a new drawing frame, you can start filling it with different objects. The following example shows you how to build up the frame step by step with areas, symbols, texts and legends.
1.Place an area:
|
If you want to place several objects of the same type, check the Placement loop option. |
a.Select Place > Area > Any.
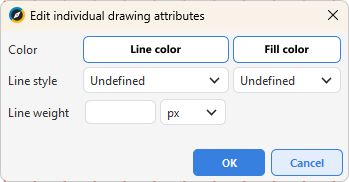
b.Enter the color, line style and line weight and press OK.
c.Left-click in the application window to set the placement point. Drag the surface to the desired size and finish by specifying the end point.
2.Place symbols:
a.Select Place > Symbol > Any.
b.Select symbol from the drop-down list.
c.Enter the color, line style and line weight and press OK.
d.Place the symbol in the application window. You can rotate it with the mouse, or right-click and select Place without rotation.
3.Place texts:
a.Select Place > Text > Editable or Uneditable.
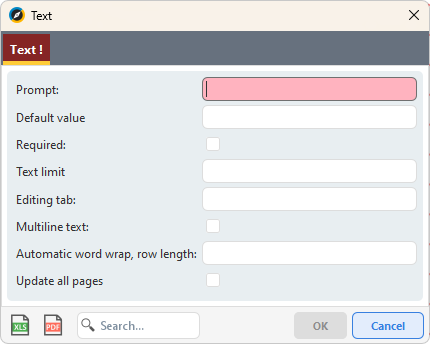
Dialog box to place editable text
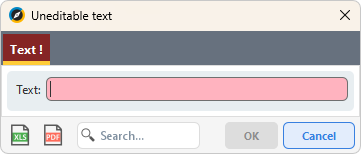
Dialog box to place uneditable text
b.Enter the text content and any editing settings and press OK.
c.Place the text in the application window.
4.Place plot-linked text:
a.Select Place > Plot linked text > [desired metadata field].
b.Select the drawing attributes (color, text style, height) and press OK.
5.Place legend:
a.Select Place > Legend.
b.Select the legend you want to insert and press OK.
c.To add more legend characters, repeat the step.
6.Add background surface:
a.Select Place > Background surface. This gives parts of the drawing frame a white background. If you do not place a background surface, the frame will be transparent by default.
Place the drawing frame in the Free Plotting tool
1.Post your changeset via the main application - select File > Post.
2.Open Free plot via File > Print > Free plot or Load free plot to open an already existing saved free plot.
3.In the Preview window, select Insert > Drawing frame > Place drawing frame....
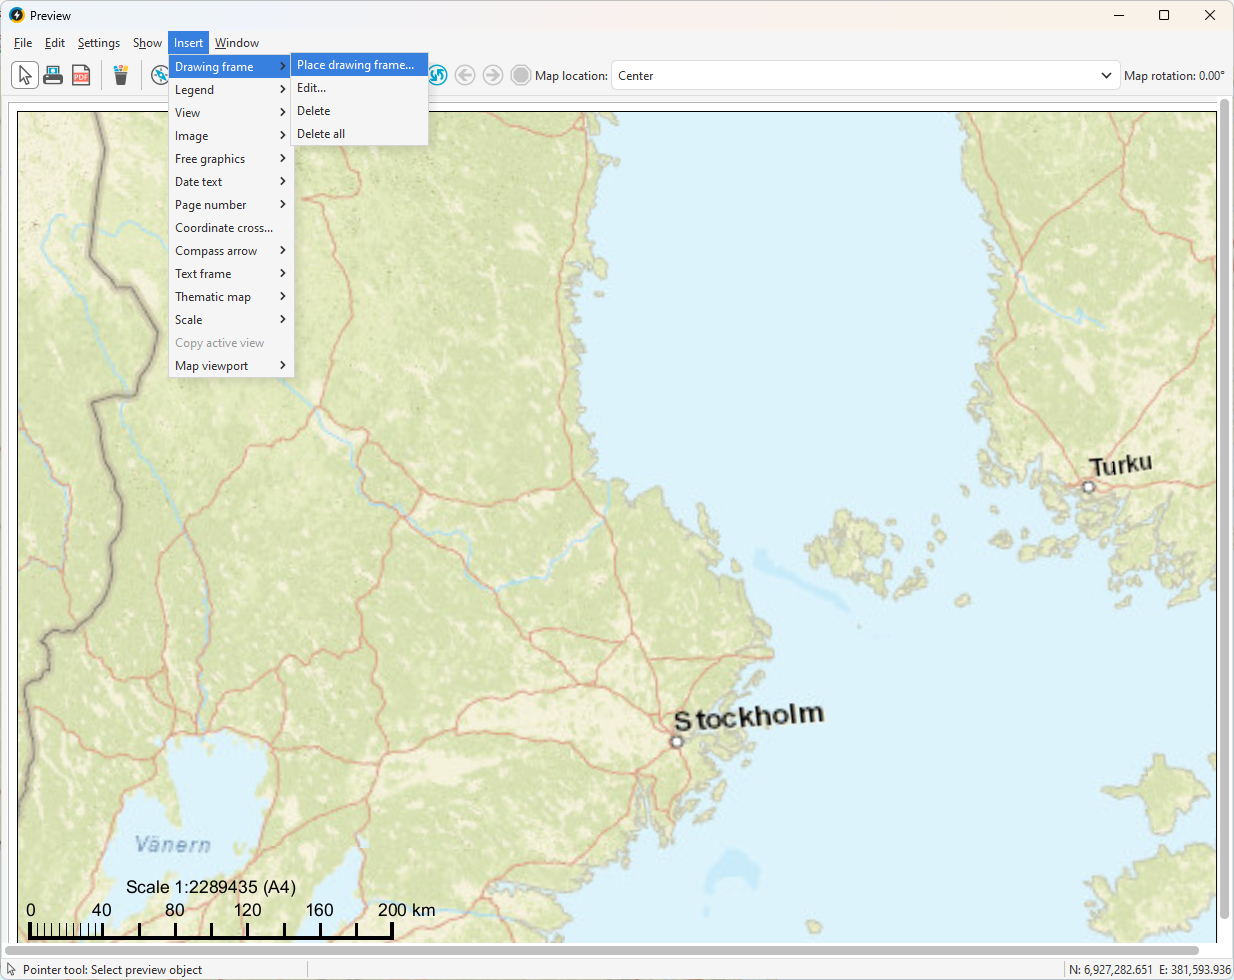
4.Find and select the drawing frame.
|
Check Apply to all pages if the drawing frame should be inserted on all pages. 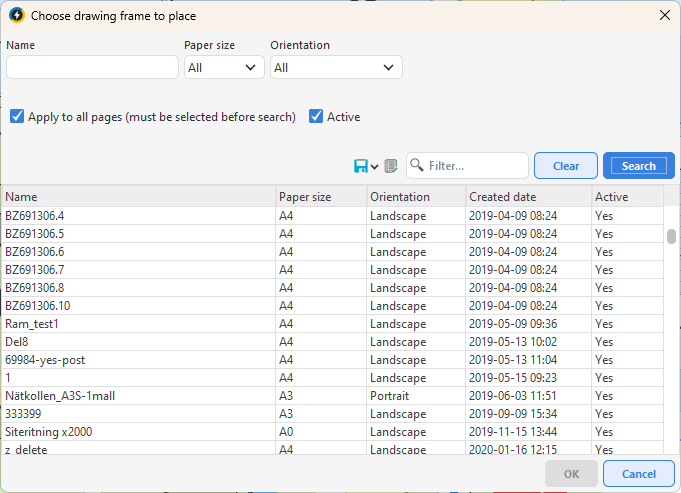 |
5.Edit any editable fields in the frame via Insert > Drawing frame > Edit. Changes here will not affect the original.
|
If you have chosen to place all texts/dates/numbers as Uneditable in the drawing frame before it was placed in free plotting, it is not possible to edit these. The changes must then be made in the drawing frame. |
6.Save your free plott.
|
The free plot must be actively saved. If the window is closed without saving, the plot disappears. |
|
Delete a drawing frame via Insert > Drawing frame > Delete or Delete all if the drawing frame is on several pages. |