You can place defined cable pillar templates in Map, Schema or use the Create and connect function to connect the cable pillar to an existing cable.
Place cable pillar template
1.Select Place > Cable pillar template > Map or Schema. A dialog box opens.
2.Select the desired cable pillar template in the list.
3.Select the desired state and press OK.
4.Left-click in the graphical view to place.
5.Rotate to the desired position and left-click again to place the cable pillar at the specified position.
6.In the attribute dialog that opens, enter a new ID.
7.Press OK.
Create and connect cable pillar template
Places and connects a defined cable pillar template to the feeder cable in the map.
|
The cable must be connected in at both ends for connection to take place. |
1.Select Place > Cable pillar template > Create and connect. A dialog box opens.
2.Select the desired cable pillar template in the list.
3.Select the desired state and press OK.
4.Left-click on the cable to which the cable pillar template is to be connected.
5.Select the cable from the list that appears to confirm.
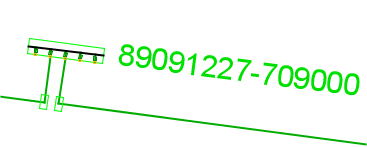
6.Move the cable pillar to the desired position. The cable pillar will rotate depending on which side of the selected cable the mouse is positioned. The rotation is always done so that the groups in the cable pillar are closest to the cable and so that the cable pillar is parallel to the cable.
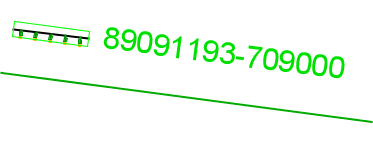
One side of the cable
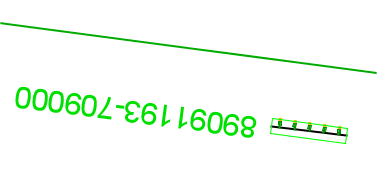
Other side of the cable
7.Left-click to place.
8.In the attribute dialog that opens, enter a new ID.
9.Press OK. The cable pillar template is placed with automatically inserted splices and splits in the graphic.