To create a completely new symbol in the symbol editor, follow the steps below:
1.Select Administration > Symbol editor.
2.Select Tools > New symbol or press ![]() in the toolbar. The editing window opens.
in the toolbar. The editing window opens.
3.In the sidebar, select the Place objects tab. To show/hide the sidebar, press F9 on the keyboard.
4.Select the Placement point object and press the Place object button.
|
The placement point is shown as a red cross. It indicates where the symbol is placed in the map, but is not shown in the final symbol. If no placement point is specified, the center point of the symbol bounding box is used. |
5.Place the object by left-clicking in the view.
6.Create the shape of the symbol using lines, circles and/or polygons.
7.To save the symbol, select File > Save symbol or press ![]() in the toolbar.
in the toolbar.
8.Enter the Symbol font, Symbol ID and press Save.
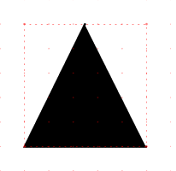
Most of the available editing tools are used to create the symbol shown here.
Proceed as follows: |
|
||
1.Select Polygon in the sidebar. 2.Draw a triangle by placing three vertices. 3.Right-click and select Create outer polygon border.
|
|
||
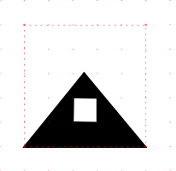
1.Right-click in the view and select Add hole. 2.Draw a square inside the triangle. 3.Right-click and select Create hole. 4.Right-click and select Create component. |
|
||
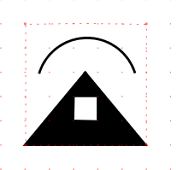
1.Press Move vertex 2.Select the top corner of the triangle and drag the vertex downwards. |
|
||
1.Select Line in the sidebar. 2.Right-click in the view and select Circular arc. 3.Place two breakpoints horizontally over the triangle. 4.Move the mouse pointer up or down to determine the shape of the arc. 5.Right-click and select Create component. |
|