Moves existing lines towards a new line. In dpCom, the function can be used to adjust existing network geometry based on reference geometry, for example geographical measurements.
|
There are configuration options that allow automatically creating relational links between the moved line objects . For more information please contact your customer manager or Digpro support. |

1.Select Edit > Component > Align lines to another component (Ctrl+Shift-M). In dpCom, one or more lines (for example cable or duct lines) can be moved. For example, a line from a reference file (for instance as-built surveying data) or an OpenStreetMap road line can be used as the template line. The lines to be moved and the template line can initially look like this:
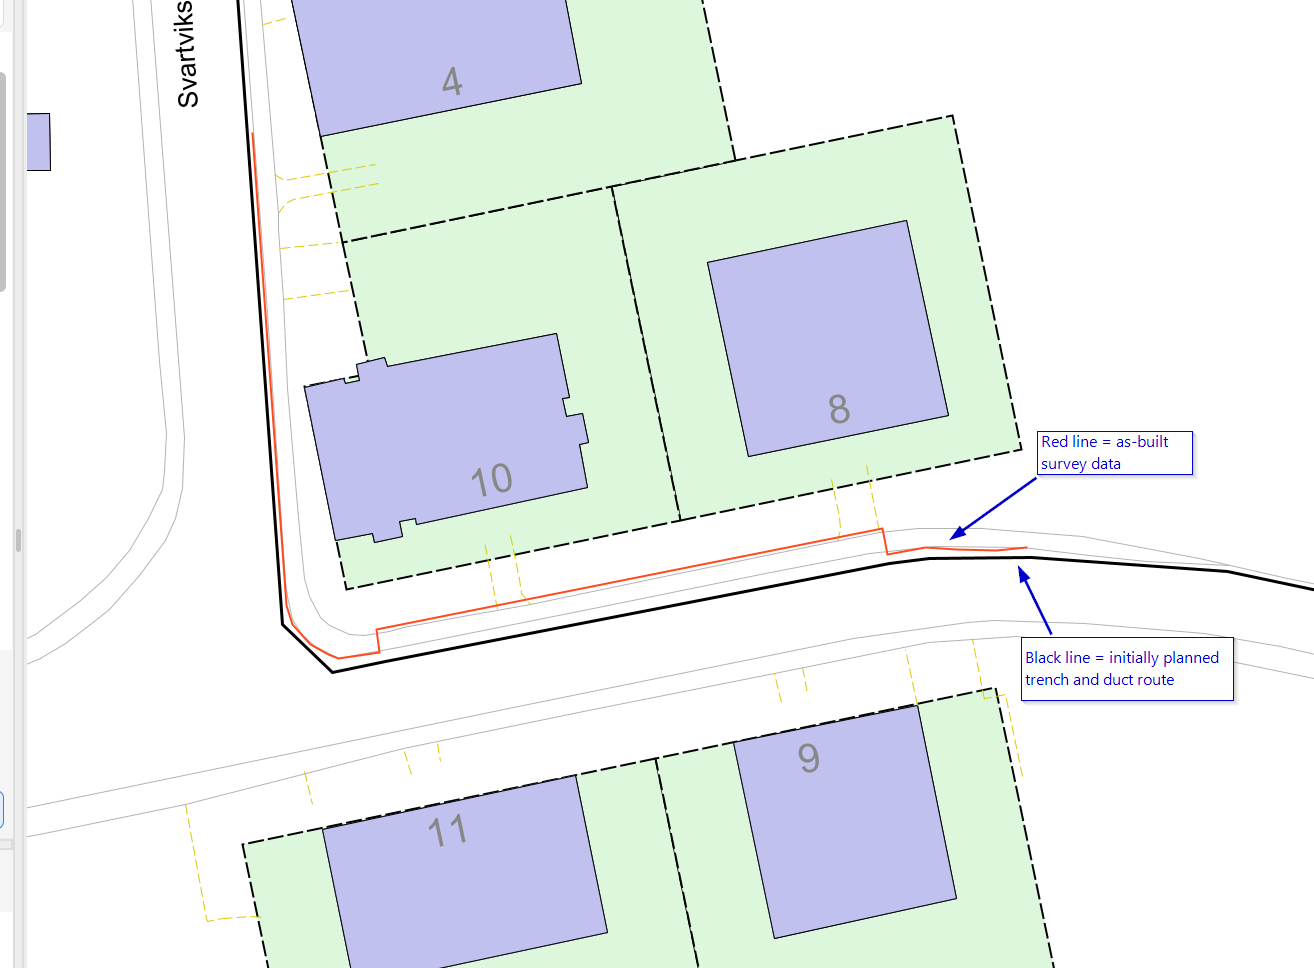
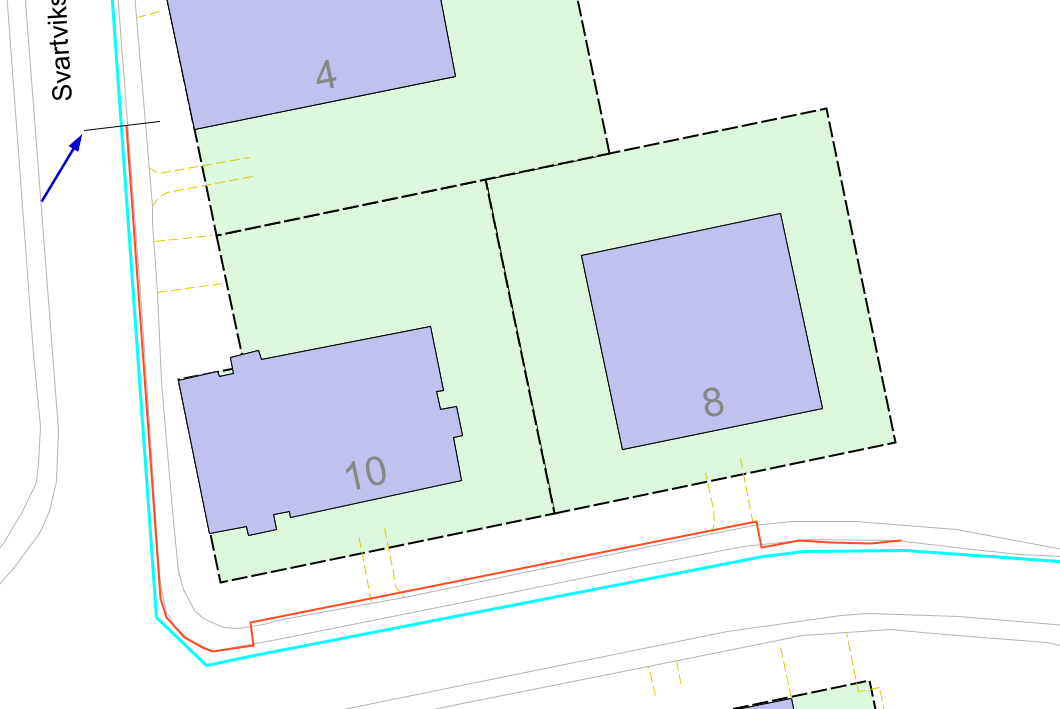
2.Enter a selection line over the lines to be moved by drawing a line. The line also defines the starting point for the move. The starting points are displayed for each line. See below:
First selection line:
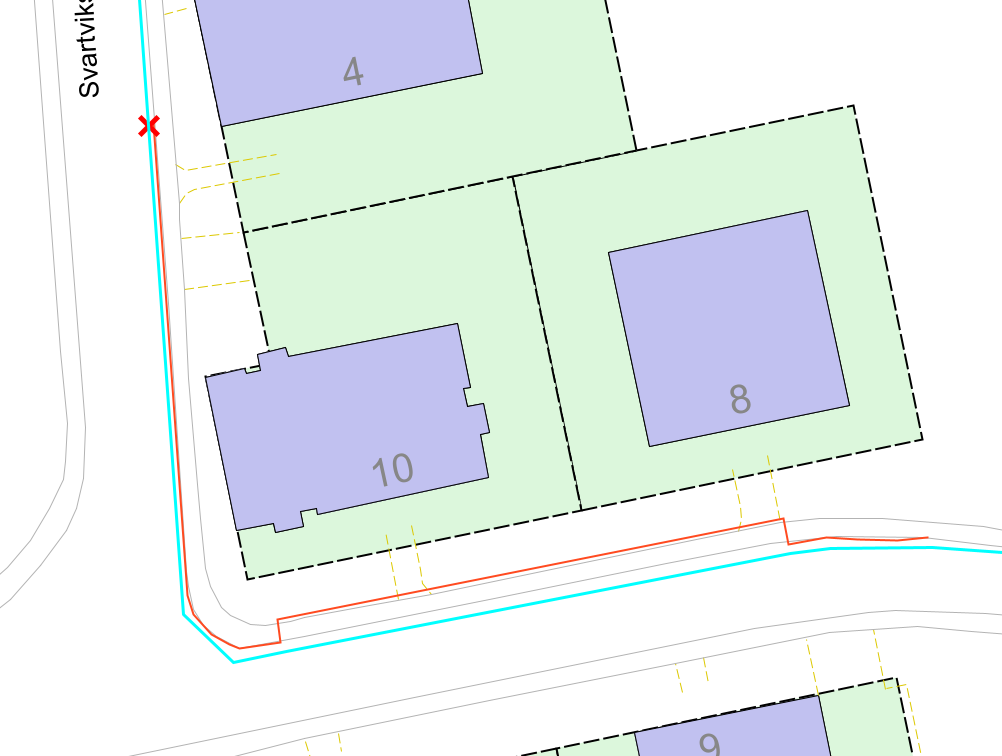
Starting point is marked with a red cross:
Same for the second selection line:
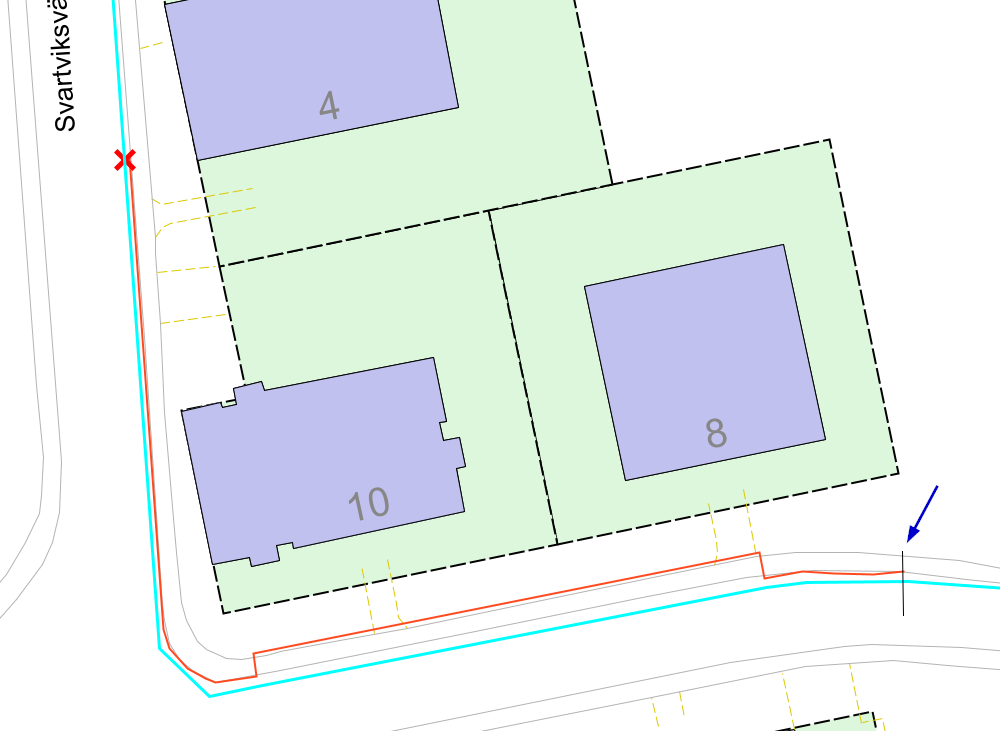
3.Enter a cross section over the lines to define the end points for the move. Then it looks like this:
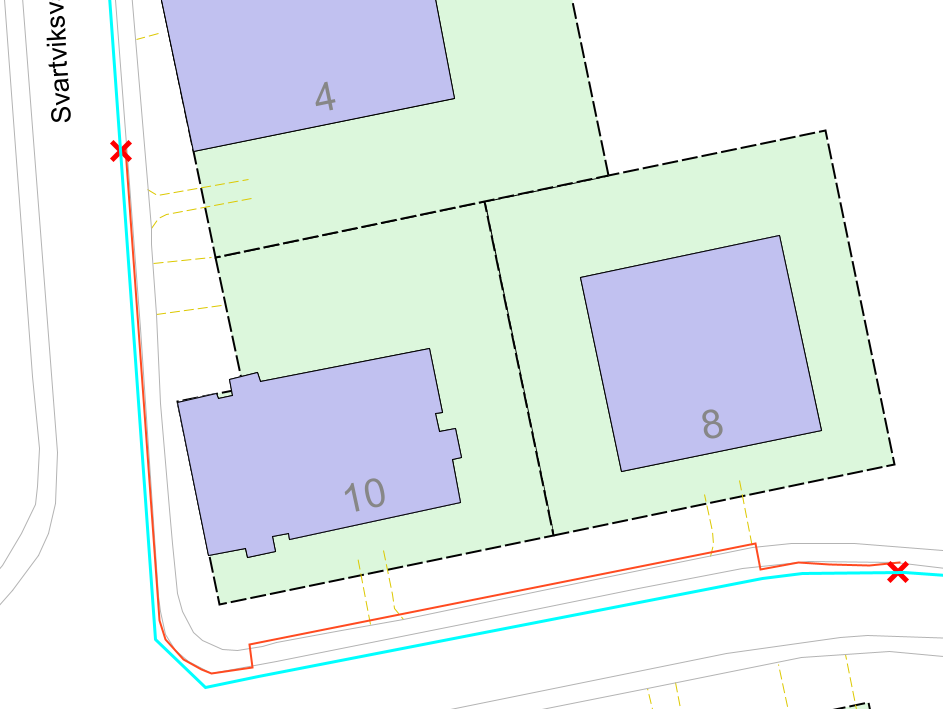
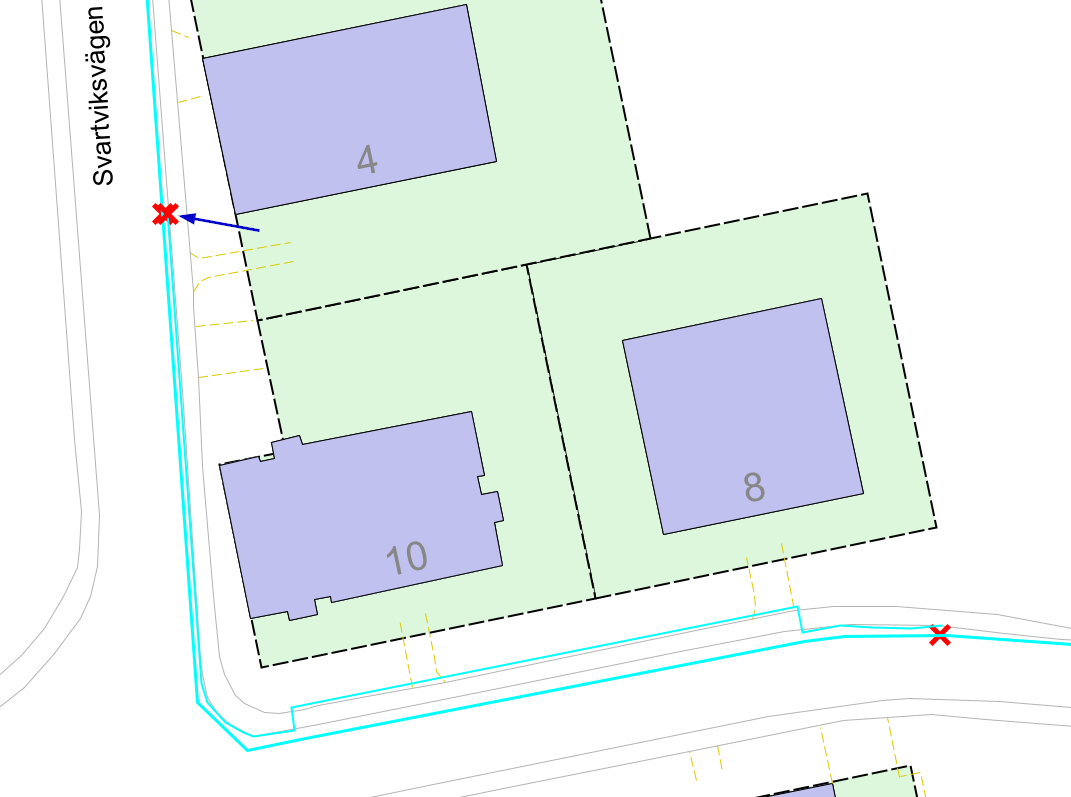
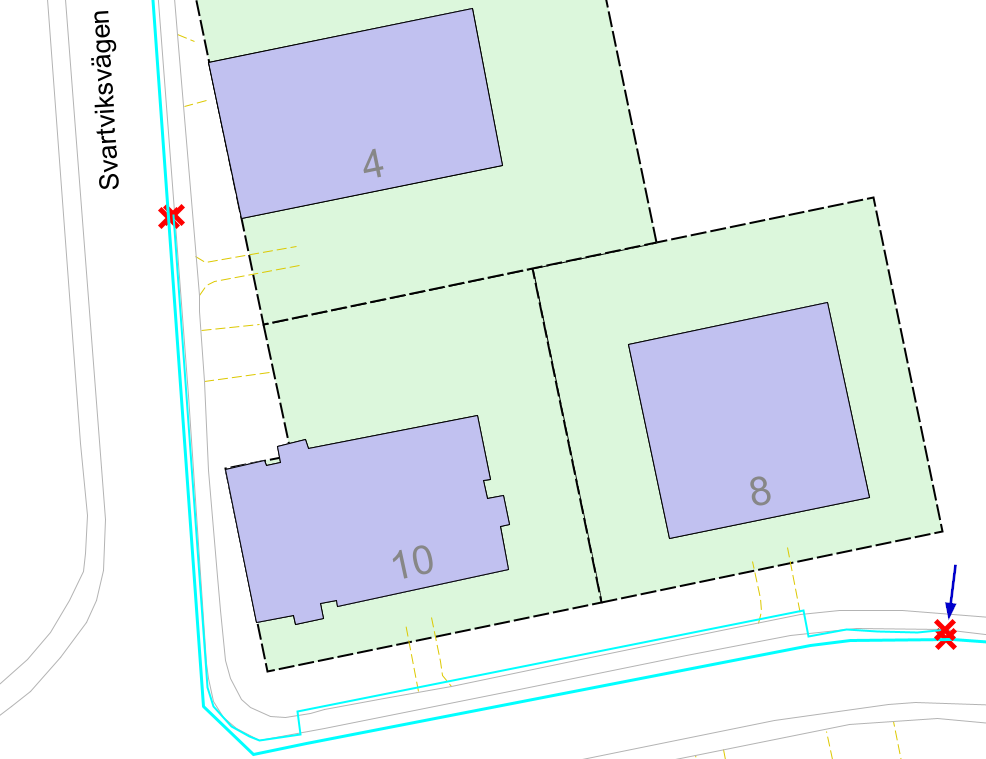
4.Select the template line and at the same time the start point. Then select the end point on the template line. Then it can look like this:
Selection of starting point on the reference line (geometry to be copied):
Ending point:
5.Enter the distance from the template line in the dialog that opens, and press OK.
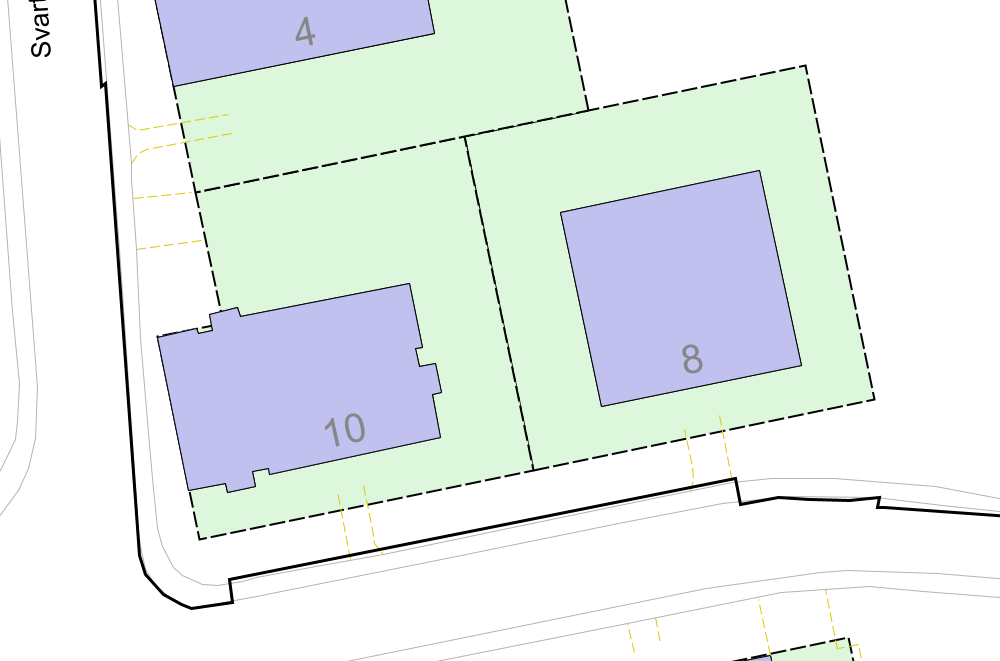
6.Select which side of the template line the lines should be moved to. If the distance is 0, the selected side does not affect the position of the line, since the line is moved onto the template line. Then it could look like this:
More information
|
Use the keyboard shortcut Ctrl + Shift - M to activate the function directly in the graphical view. You can add the function directly in the toolbar in the application. 1.Select Settings > Preferences. 2.Select the Toolbar tab. 3.Check the box for Edit components 2. 4.Press Apply. 5.Press OK to confirm. The function is now visible directly in the toolbar with the icon |

 .
.